
The main reasons for using lighting whist shooting a film or TV show are for:
Exposure
This is the amount of light taken in by the camera. When an image is overexposed, too much light fills part of the image, the opposite of there not being enough light known as underexposure.
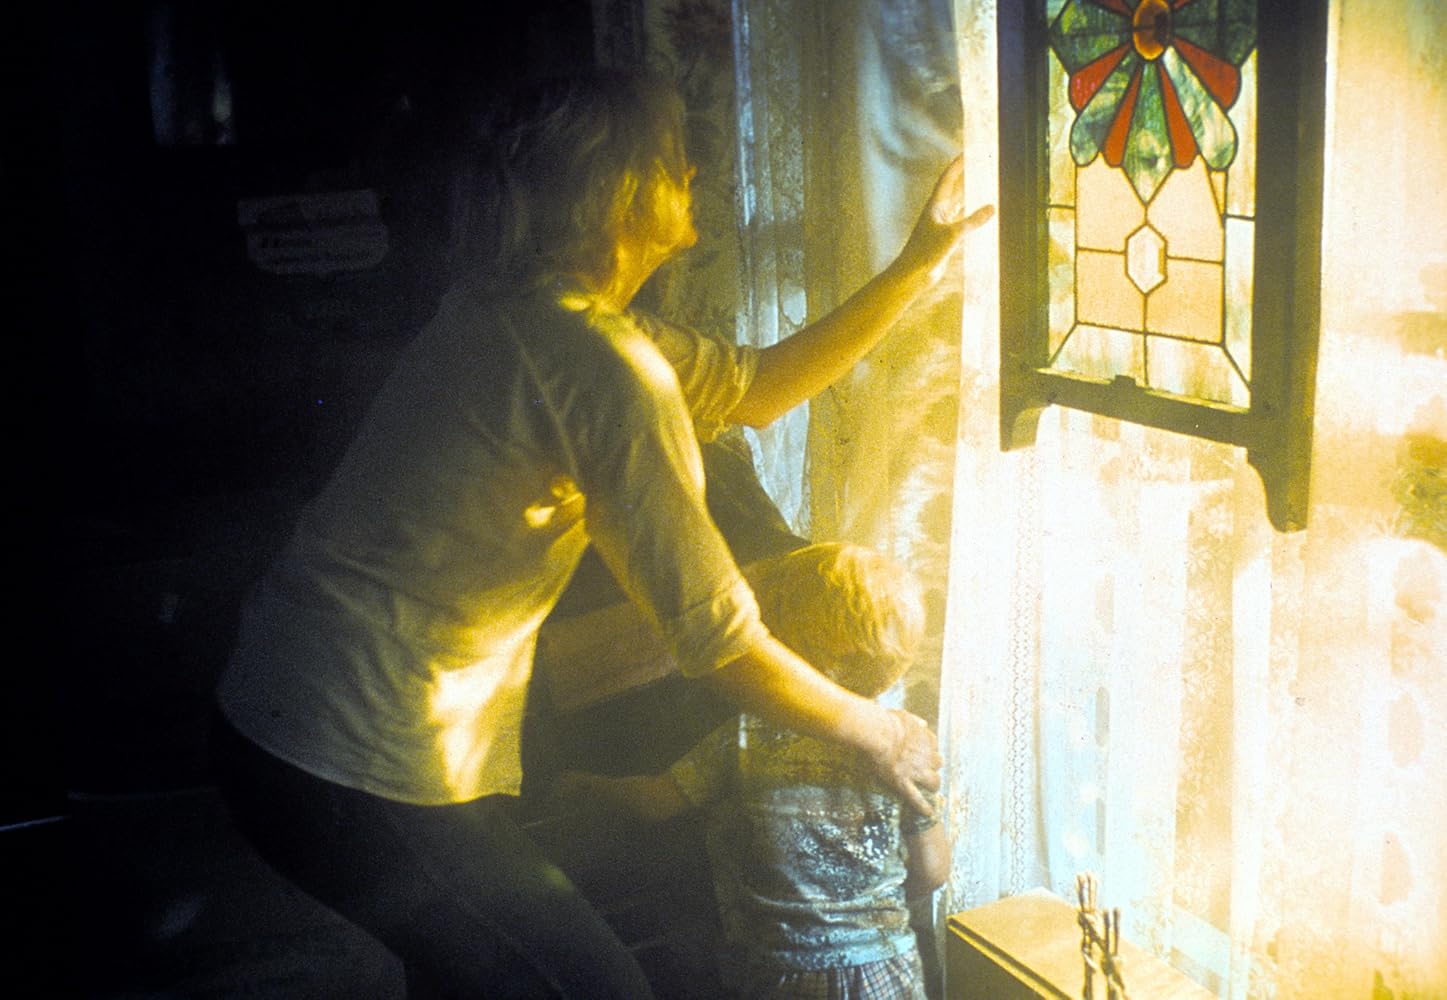
Overexposure to emphasise the mysterious nature of the aliens in Steven Spielberg's Close Encounters of The Third Kind (1977)
Focus
This is how much of the picture can be seen by the audience, and can be either selective (also known as shallow), so only the foreground is clearly visible and the background blurred, or deep, when both the background and foreground are visible.
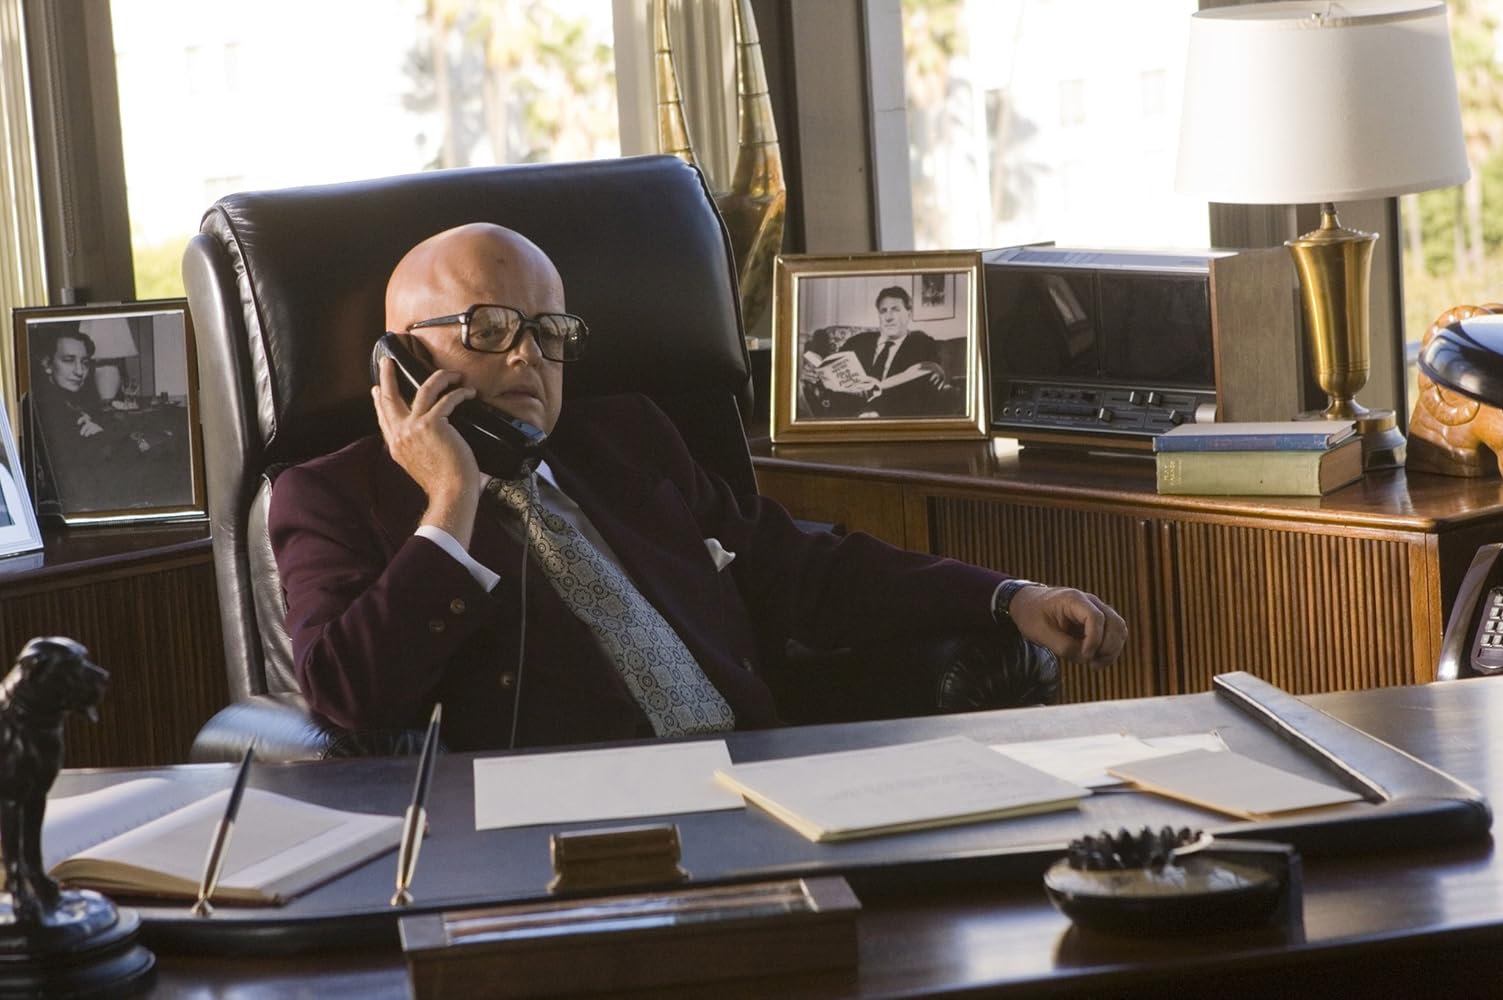
Deep focus in Ron Howard's Frost/Nixon (2008)
Mood
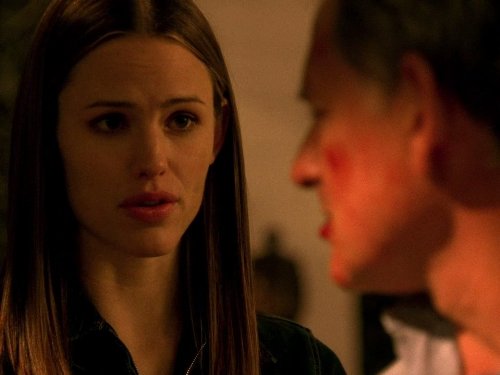
Lighting can affect how the audience feel about the picture, and therefore, collectively the entire film or show.

Red lighting from an episode of Veronica Mars (2004-2007), which symbolises blood and therefore foreshadows that violence and danger could be imminent, putting the audience on edge
Qualities of light:
Brightness/ Intensity

An example of bright light from Steven Spielberg's AI: Artificial Intelligence (2001)
Colour (temperature in Kelvin)

Quality (hard or soft)

Soft light from Vanished by the Lake (2015)
Angle relative to the subject or object which is the focus of the shot
Angled light from Alias (2001-2006)
Shape (changed using barn doors or a snoot or by changing the size of the light source)

Spotlight shaped light from Feud: Bette and Joan (2017-)
From this, we then used tungsten lighting to recreate some of these different lighting effects, thinking about which light would be the key, the fill, and the back.

Natural light:
For comparison, we first filmed a shot in natural light. This is too dark to be able to see much of the subject, and therefore would not work for a scene in a film or TV show.Key light:
Therefore, we then set up a key light, which is placed in front of the subject to illuminate their face:
However, this looked overexposed, which could have been solved by adjusting the camera's iris to decrease the amount of light coming in, or turning the intensity of the light source down.
3 point lighting:
By setting up a key light and back light, and then balancing these with a fill light, the amount of light hitting the subject became much more level, but there is a shadow in the background which is slightly distracting. This could be removed by moving the light sources around so they balance better, or by adjusting the fill light so it is further from the subject, as this could mean the light illuminates more space.
Hood to create a shadow over eyes:
We first tried this with a fur hood, using two light sources, one placed in front of the camera, but raised high up, and the other placed slightly to the right of it:

Doing this focused the subject's face, but also blocked out shadows in the background. However, the fur did not create a straight line for the shadow. This was solved by using a hoodie instead:
This made the light dissolve where the brightness of the lower face meets the shadow of the upper face, creating a nicer looking transition between the two. By using a leather jacket a shine was also created which was a nice effect as it contrasted with the darkness of the shadow. This could be improved by balancing the light on both sides of the jacket as it is brighter on the left side than on the right, which could be achieved by placing another light to the left of the subject.
Blocking shadows using a key and fill light:
Using a similar setup to the one above, shadows could be eliminated by allowing the light from the key and fill light to overlap, creating more of a focus on the subject's face.

This creates the illusion of natural light, almost like sunlight hitting the right side of the face and also illuminates the fur. It could be improved by making the contrast between the yellow and gray on either side of the fur less harsh, which could be achieved by placing another light on the right side of the subject.
3 point lighting for an interview setup:
To illuminate two speakers as if for an interview, three point lighting was used to achieve a balanced composition between both subjects:

This meant that light 1 could provide the key light for subject 1 and the back light for subject 2, similar to light 2 which was the key light for subject 2 and the back light for subject 1, whilst light 3 acted as the fill light. The setup could be improved by ensuring that all three of the lights are the same colour, as lights 1 and 3 had blue gels over them, creating a white light, whilst light 2 had no gel over it, making it yellow.
Comments
Post a Comment